In the world of photography, there are many debates and opposing camps as there are models of cameras. They range in passion and breadth from the extremely minor to the fundamentals of photography. There are people who pride themselves on using only prime lenses versus zooms. There are those who are Canon fans as opposed to the Nikon fans. There are people who swear by using ballheads on their tripods while others will use only pan head and so it goes. One of the most fundamental points of contention in photography is how should the photograph you take should be represented. For lack of a better term, I would categorized the argument as taking the shot as opposed to making the image. At its simplest, taking the shot is represented by a photograph that is unaltered in every way from the moment that the photograph is taken. No cropping, no change in exposure levels, no changes in color. What you shot is what you get. The best kind of example of this sort of photograph is the journalist shot at a moment and then transmitted quickly to a newspaper or photo archive like Getty Images. In this sort of photography, […]
Read More
I came across a reference to a new photo effect, the Orton Effect that has become popular among many photographers as an alternative method of processing photos. The Orton Effect is named after Michael Orton who first used the technique is a sandwich of two images, one in focus the other out of focus. The Orton image has traditionally been done using slide film with the first, sharp, image overexposed by two stops and the second, out of focus image, over exposed by one stop. This creates a dreamy sort of image where the image is sort of sharp but retains the glow like effect from the blurry aspect of the creation. The effect can be accomplished in two ways. The first is as described above with two images taken of the same subject but at different camera settings. Needless to say, to make it work, you will need a steady tripod and a sure hand or preferably as little hand touching as possible to keep the image exactly straight. The other and now more common way is to replicate the effect through photo-editing software like Photoshop where duplicate layers of a single image can be set with different settings […]
Read More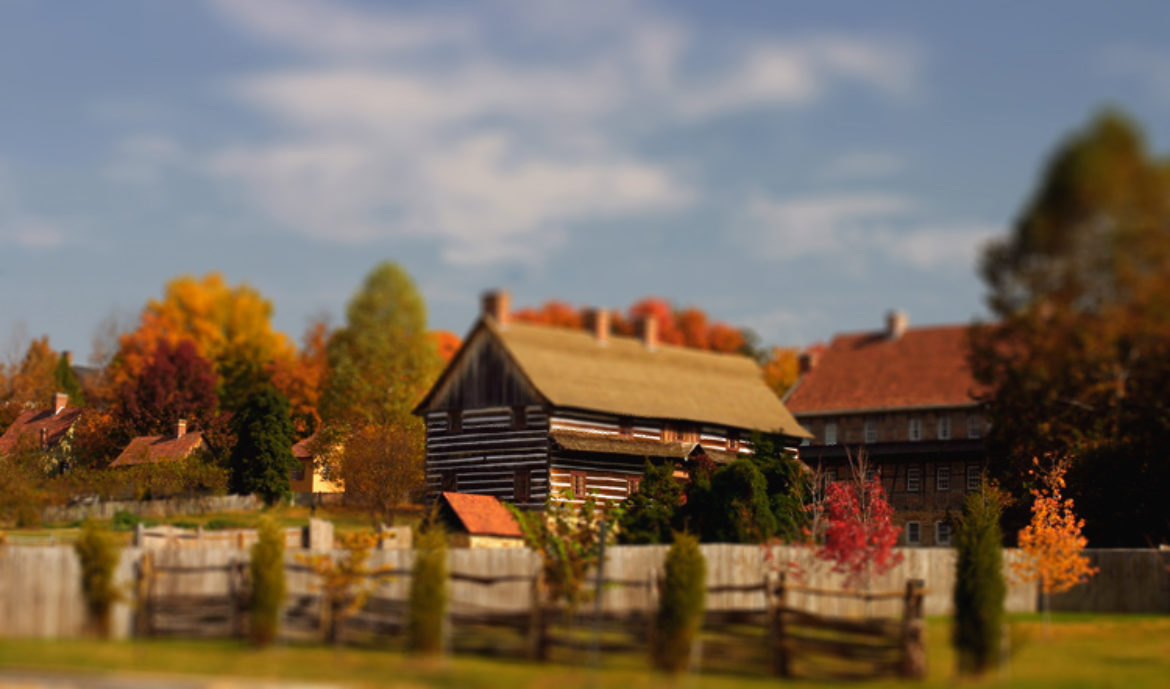
In a recent issue of National Geographic, there was a cover story about the effects of Hurricane Katrina on the city of New Orleans. What made the story stood out for me was the accompanying photographs by David Burnett. Using a large format SpeedGraphic camera set at a very shallow depth of field, he created pictures that took on a fantastic quality making ordinary scenes of devastation seem surreal like a dream or a nightmare depending on your perspective.
Read More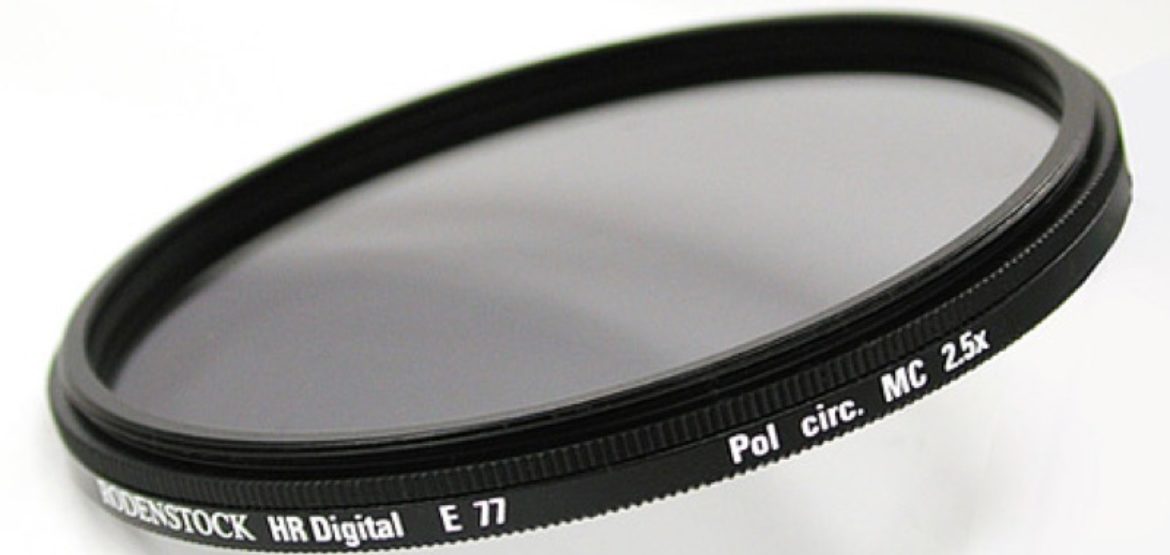
When I picked up my hobby of photography, I had to start my collection of equipment from scratch. Starting with the Digital Rebel (EOS 300D) and its basic kit lens, I have added a portrait lens (50mm) and the zoom lens(70-200mm) and a high quality wide angle (17-40mm) to complete the initial set. Along the way, I have additional pieces like a tripod, flashgun with a diffuser and a collection of filters that fit my kit lens.
Read More