Experimenting with the Orton Effect
I came across a reference to a new photo effect, the Orton Effect that has become popular among many photographers as an alternative method of processing photos. The Orton Effect is named after Michael Orton who first used the technique is a sandwich of two images, one in focus the other out of focus. The Orton image has traditionally been done using slide film with the first, sharp, image overexposed by two stops and the second, out of focus image, over exposed by one stop. This creates a dreamy sort of image where the image is sort of sharp but retains the glow like effect from the blurry aspect of the creation.
The effect can be accomplished in two ways. The first is as described above with two images taken of the same subject but at different camera settings. Needless to say, to make it work, you will need a steady tripod and a sure hand or preferably as little hand touching as possible to keep the image exactly straight.
The other and now more common way is to replicate the effect through photo-editing software like Photoshop where duplicate layers of a single image can be set with different settings to generate the Orton Effect. The explanation of how do replicate this effect can be found on PCIN.net.
In brief, though, this is the basis procedure
- Open your image
- Duplicate the background layer (Right click on the background layer and choose duplicate) and name that layer Sharp
- Create another duplicate of the background layer.
- Change the Blending mode of the Sharp Copy to screen
- With the Sharp Copy layer selected, right click and choose Merge Down
- Right click on the Sharp layer, choose Duplicate and name this layer Out of Focus
- On the Filter Menu, choose Blur – Gaussian Blur
- Depending on the resolution of the image you are using, the amount of blue needed will change. Use enough that the shapes are still visible, but detail is not. For mid-size images, a value of 15.9 was sufficient.
- Change the blending mode of the Out Of Focus layer to Multiply.
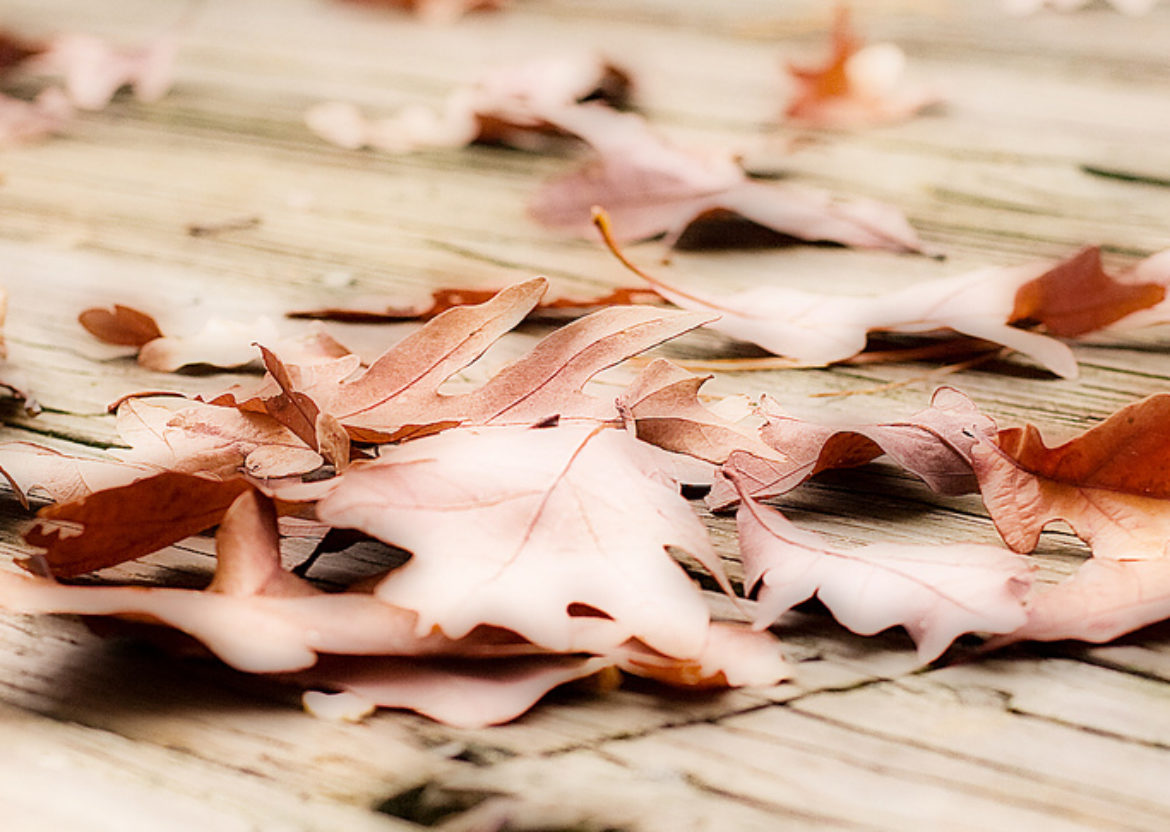
It is not a complicated effect. The only real work is trying to determine the amount of blurring you need per photograph to get the effect right. So I did a few recent photos using this effect. I went for a variety of subjects to see how to respond to the effect. I posted the results in my Flickr gallery and in Snaps as well.
The results varied a bit. I did not try to overemphasise the effect but I did not go the other way and make it too subtle either.
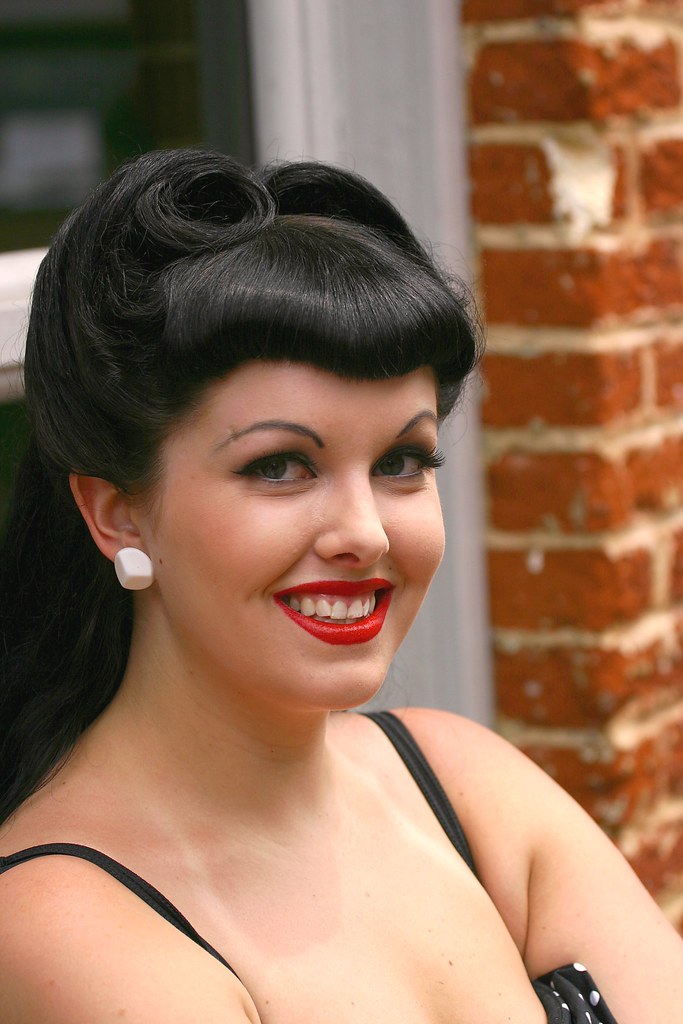
In one of tests, I took the image “The Rocker Beauty’ and see if I could attain that dream-like quality. This is the original image, as posted to Flickr, with some post processing of the original image but essentially only to crop it and lighten some of the tonality. For a candid street shot, it is one of my favorites although comments on the photo are a bit more mixed.
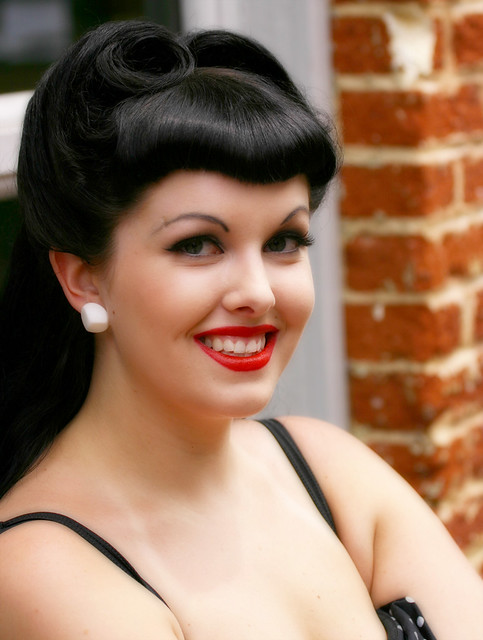
Now here is the updated image with the Orton Effect applied. The first notable change is that the image is brightened overall due to the overexposure applied to the image. There is some detail lost which inevitable with this sort of processing but the way to avoid this is to be judicious in the level and tone adjustments of the image before applying the effect. But the image, while high keyed a bit more, has achieved a notable softening effect. You could say she positively glows now.
Not every photograph is a suitable candidate for this sort of effect. The subject of the photo matters greatly because part of the appeal of this effect is to attain that impressionistic quality and ordinary snaps of people and places just will not be dreamy no matter how hard you try to use this effect. It needs a good range of tonality that provides a good contrast between all parts of the photograph.
However, this effect, much like the Burnett effect I tried earlier, is something fun to do but not necessarily one that I may attempt again in the future but it does have its uses.
