Filters or Photoshop
When I picked up my hobby of photography, I had to start my collection of equipment from scratch. Starting with the Digital Rebel (EOS 300D) and its basic kit lens, I have added a portrait lens (50mm) and the zoom lens(70-200mm) and a high quality wide angle (17-40mm) to complete the initial set. Along the way, I have additional pieces like a tripod, flashgun with a diffuser and a collection of filters that fit my kit lens.
Using a filter for your lenses seems a bit archaic these days as many of the effects that filters traditionally do (soft focus, special sparkling lights, colour casts) can be replicate through a photo editor like Photoshop. The exception is polarizing filters where their effects are much more complex.
Screwed in filters vs Cokin filters
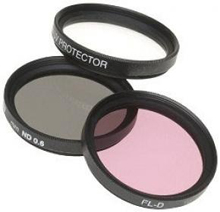
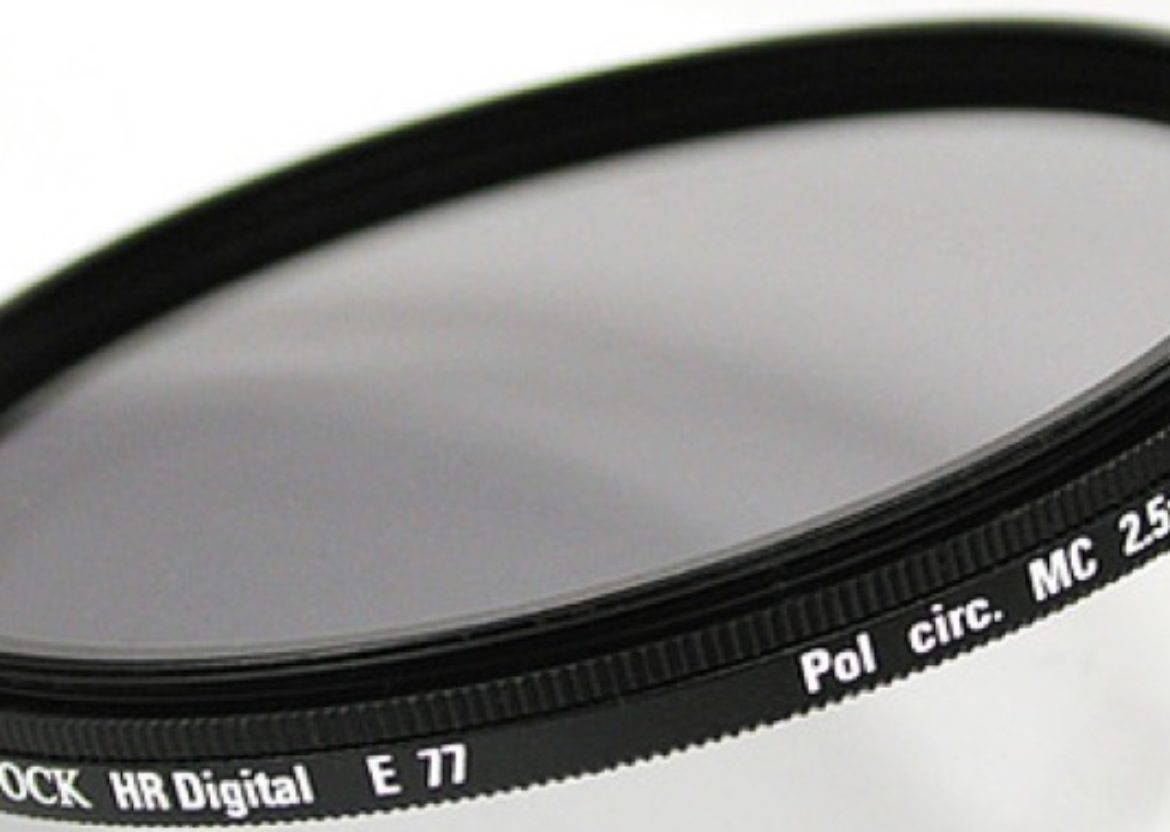
 Starting out with filters, I used the screwed in type. I found them easier to use and carry around. Currently, my filter collection contains neutral graduated filters, a polarizer, a warming filter and a red intensifier among others.
High quality filters are expensive. The red intensifier filter which I use to punch up autumn colours in my landscape photographs cost $55 from B&H photo. Consider that a collection of lenses will have different lens widths, getting a collection of filters for each lens width will run into the hundreds of dollars and may even exceed the retail cost of Photoshop.
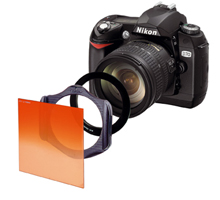
However, I made the transition to the Cokin type filters this year as an alternative option. Part of the reason to do so was cost. Using the same filter holder and filters, I could use the filters for all of my lenses with a series of lens filter adapters for the 58mm, 67mm and a 77mm lens diameters for my lenses. That saved me a bundled compared to getting the same filter for each of the different lenses I have.
 The other reason for the switch was to use the neutral gradient filter in a more effective way. I photograph plenty of landscapes and many times I have a situation where the sky is just too bright relative to the foreground. To compress the dynamic range , the ND gradient will darken the sky while keeping foreground unchanged. However, unless the scene is composed such that the horizon is in the middle, using a screwed in filter will force some compromise in the shot where you may get too much foreground or sky for your liking. With the Cokin filter, this problem is alleviated by the fact that you can adjust the filter up and down the filter holder so that the gradient hits the horizon where you want it.
Replicating effects through Photoshop
But consider also what someone using a Photoshop–like editor and tries to replicate the same effects as the red intensifier filter. The effect this filter is that it will boost any colors in the red-orange spectrum, giving them more saturation making it ideal for capturing fall foliage without affecting any other colours. With the photo editor, first you will have to select the portion of your image to be altered otherwise you will affect parts of your image you did not intend to change. Bring up your Hue and Colour change tool, and then using the sliders change the Red or Yellow channels of the image to really punch up the colours. Then you may have to use the Levels or Curves tool to increase the contrast and lessen any dullness in the shot. When I did that in Photoshop, it may take 30 minutes or more to come up with an image I would be satisfied with finally. For a typical photo shoot of 30-40 landscape images, it may take me days to process all of them.
Still after the fact, looking at one of these processed images tells me that they look a bit unreal which is not the impression I get from shots I took this year with the red intensifier filter. Being able to chain filters together, usually with a polarizer, provides me with much more vibrant and colour complex images than I can ever attain with my limited Photoshop skills.
Then there is the problem that the more you alter the captured image, the more likely you will introduce usual colour shifts or halo effects and so forth. Using a filter on the image before it is captured by the camera sensor helps minimizes all of those unwanted effects.
There also effects that can never be replicated in Photoshop. A prime example of this is the advantage of using the neutral graduated filters. Taking landscape photographs during the daytime, you have to contend with the problem of a high dynamic range between the sky and the landforms. Invariably to capture detail in the sky, you will have to underexpose for the land and conversely to capture detail for the landforms, you find your sky has been overexposed to the point of being blown out. The ND grad filters, available in various exposure stops, narrows the dynamic range allowing you to capture details in both the sky and land. One shot should get you the photograph you want. Doing it in Photoshop would require you to take multiple shots at different settings, bring all of the images into the editor and using masking techniques, get the detailed exposure you want. Doing that once took me nearly two hours to do it right.
What’s better?
I like using filters because I would rather spend my time taking photographs rather than trying to manipulate them for a certain effect. There is some inconvenience in trying to swap filters out in the field and it is more weight to consider but I do not think that is too much of a problem.
Since I have been using Lightroom for most of my photo editing these days, I have control over more of the image to get it in terms of exposure and colour and able to replicate many of the elements of a photo in a more intuitive way than Photoshop. For several of the filter effects though, only Photoshop or Elements are able to do it. As I take a lot of photos each time I go out, this means a lot of post processing work.
So the lesson here is use the best tool for the job at hand for there is no one perfect way of achieving that perfect shot and a combination of hardware and software can do the job when neither one of them separately can. Question becomes whether the time you want to spend on your photography is in the field or in front of the computer.


